
The original Japanese version is available here.
In the last session, I managed to send mail through the regular mail server of the ISP. This time, I will try to sign the message with DKIM. Although I have not used a relay server after signing, it seems to work normally. But on second thought, it should also be fine if I use a relay server. I still don’t know for sure, but sites connected with UUCP always have a site equivalent to a relay server involved.
opendkim is software maintained by Sendmail Inc., so the opendkim and sendmail should work together very well. So I would like to try signing the message using opendkim. First, I will compile the software.
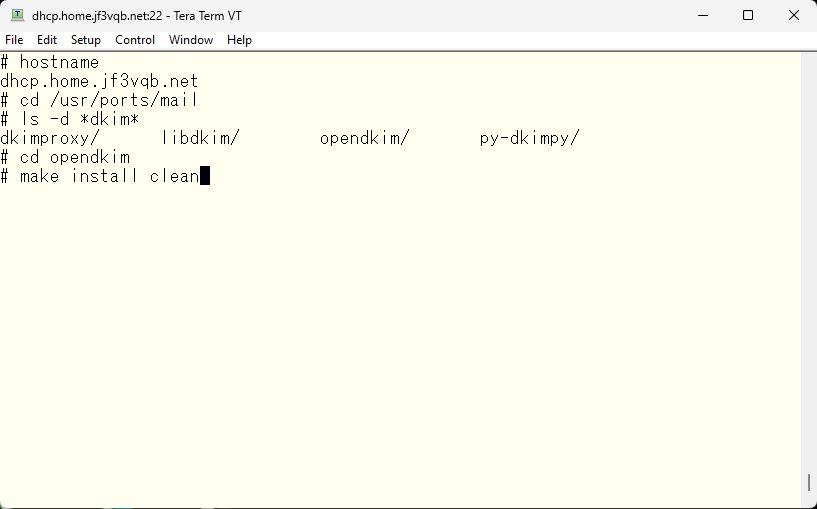
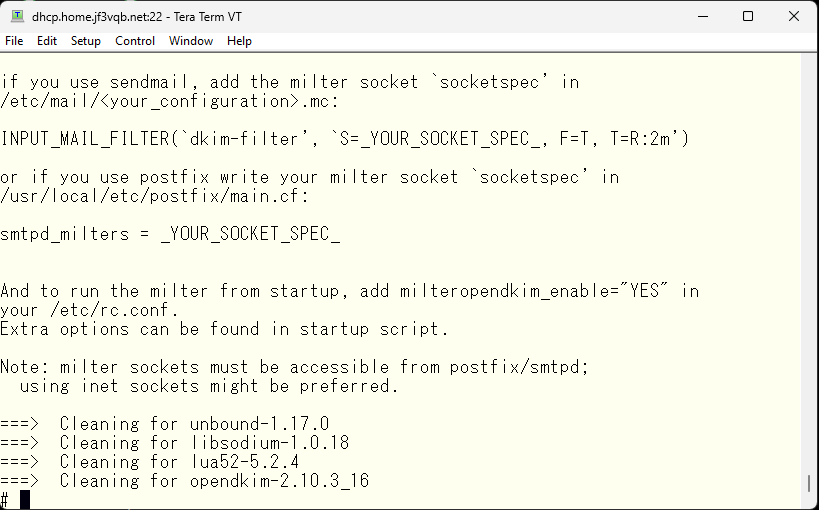
This message is displayed. I’ll make a note of it for later use.
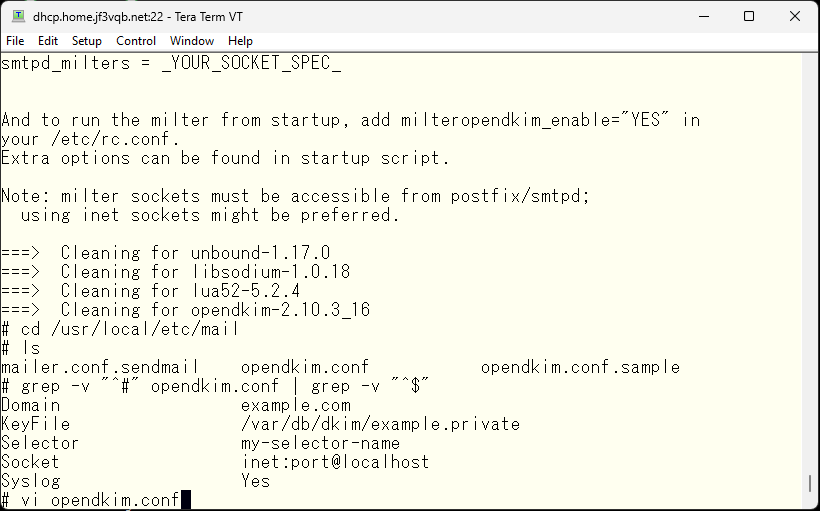
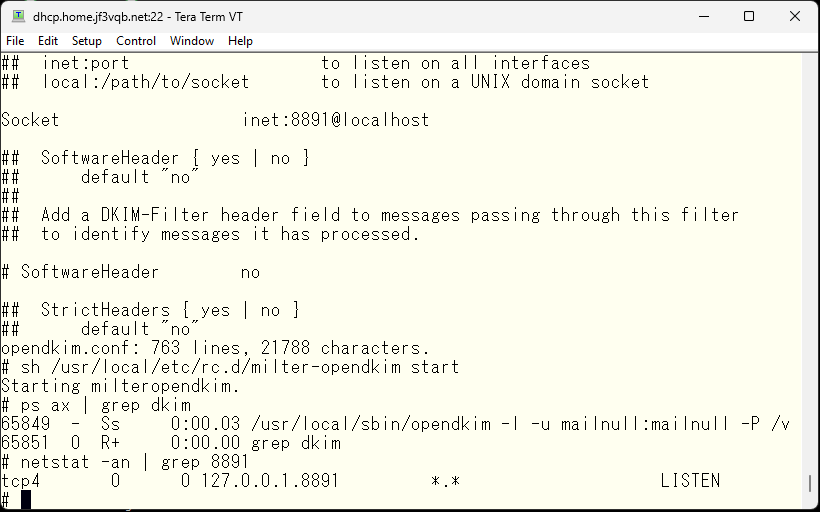
The opendkim configuration file is located in /usr/local/etc/mail. I will display the contents excluding the comment and blank lines from the sample file. It seems to work with just these 5 lines. The last line is related to syslog, so it’s essentially 4 lines.
First, change the domain name to your own email domain, jf3vqb.net.
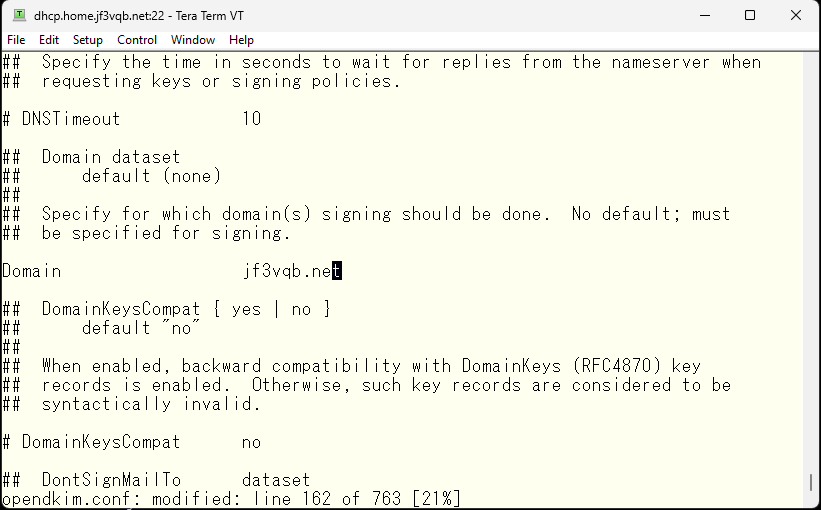
The selector also needs to be set in the DNS configuration, so let’s set it to jf3vqb.
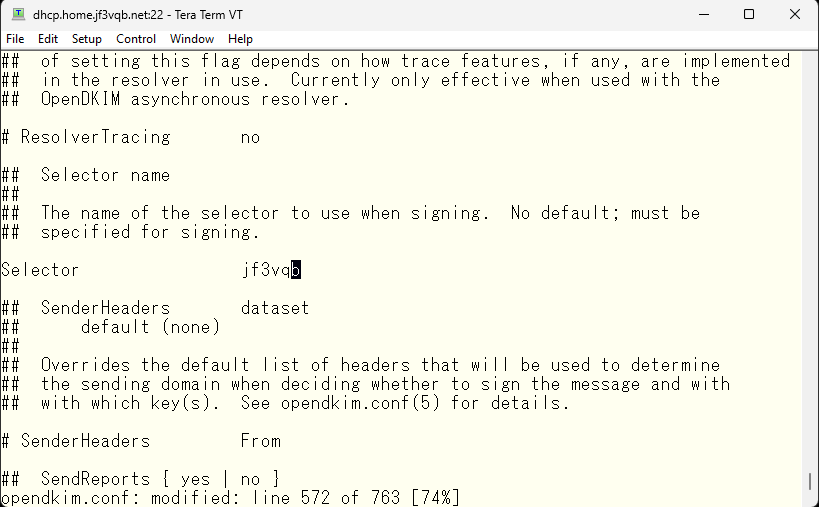
Also match the secret key file name with the domain name and save the file.
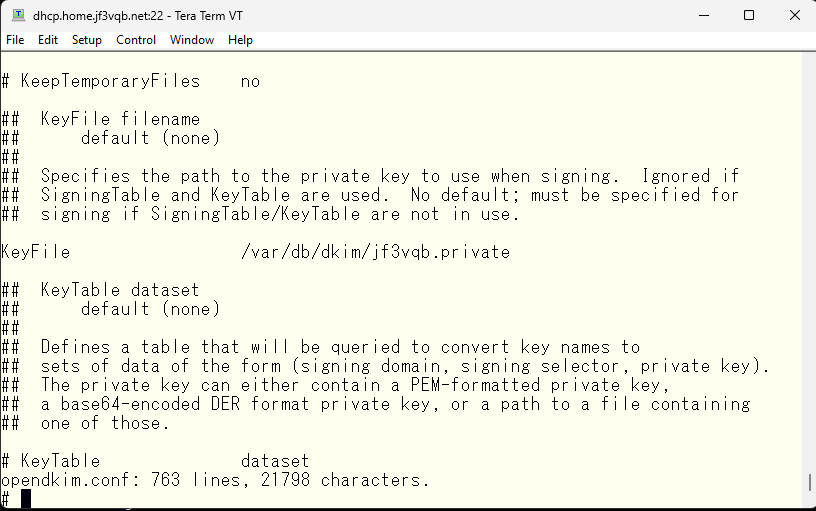
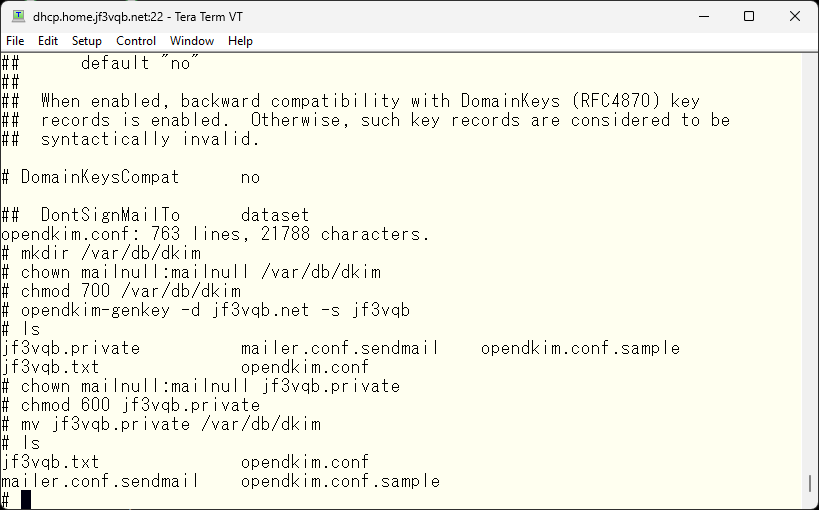
Next, create the folder to store the private key as specified in the opendkim.conf. sendmail runs as the user mailnull and group mailnull, so change the permissions to allow only this user to read and write. Use the opendkim-genkey command to generate a private key/public key pair. Then, move the private key to the newly created directory.
With this, the server-side preparation should be okay, so let’s start opendkim. But I got scolded :(.
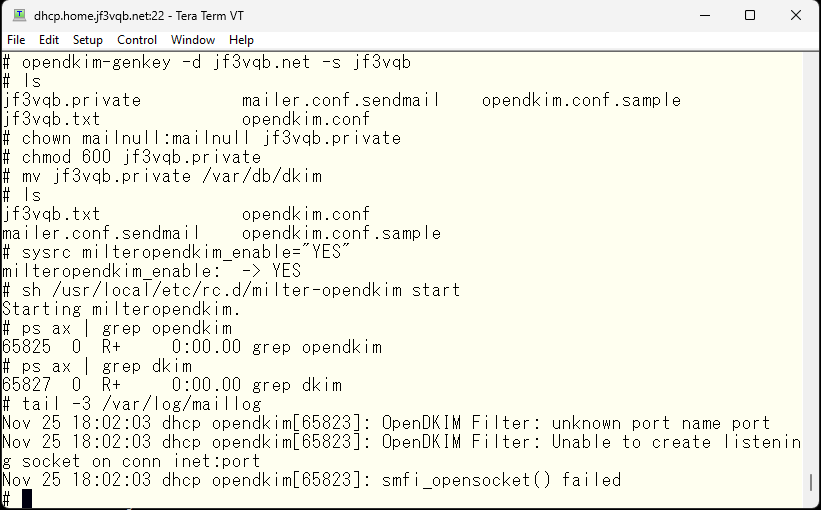
It seems like there is something wrong with the socket specification, so I’ll fix it. 8891 seems to be the default port for opendkim, so I’ll use the default. So, will it work?
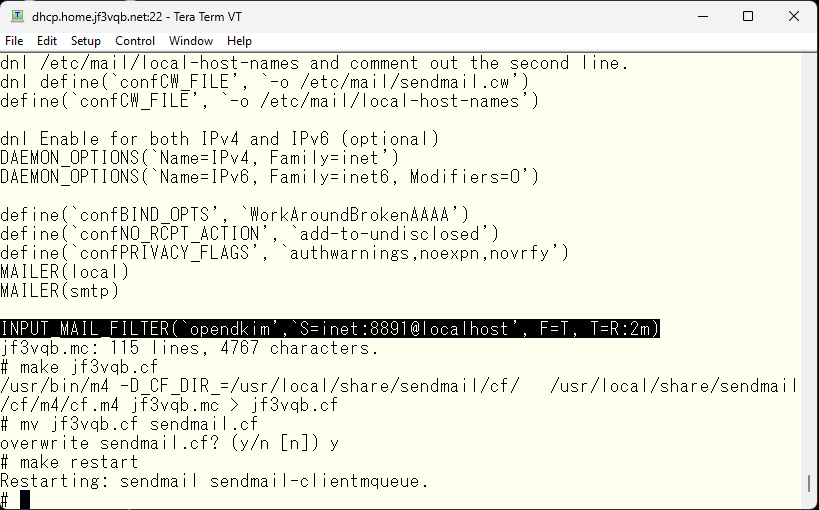
Next, we will configure sendmail to use opendkim through the milter interface.
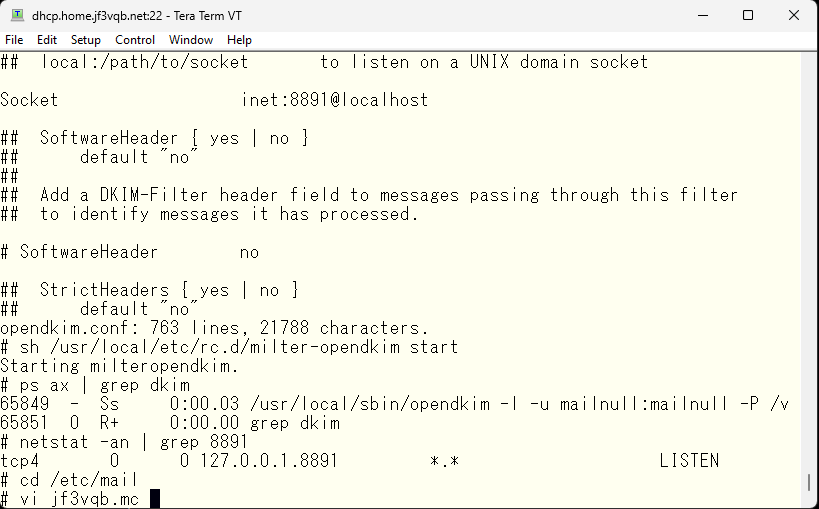
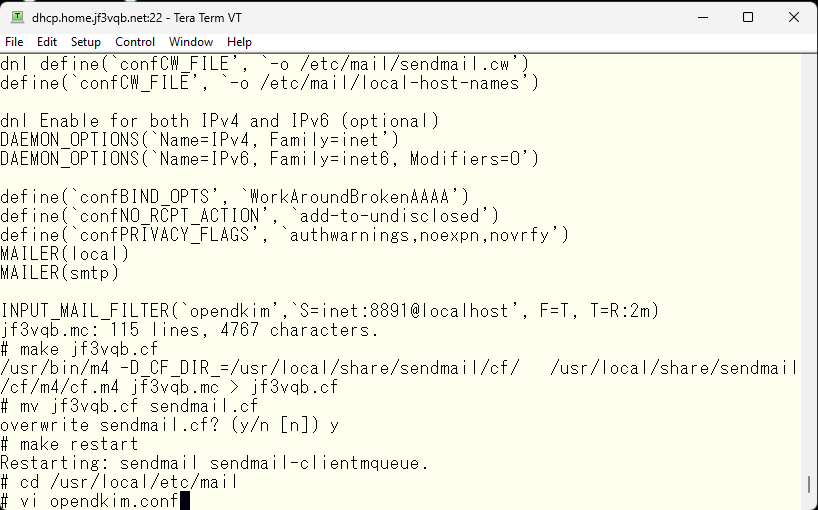
Remember the message that was displayed when you installed opendkim and specify it accordingly to create a new sendmail.cf file.
pokemon さんの freebsd.mc でソースアドレスをホスト名からドメイン名に変更してから test@gmail.com 宛にテストメールを送ってみましたところ、お前なんか知らんと怒られました。
I tried to send a test email to test@gmail.com after changing the source address from host name to domain name in freebsd.mc on the server pokemon, but I was told that they don’t know me.
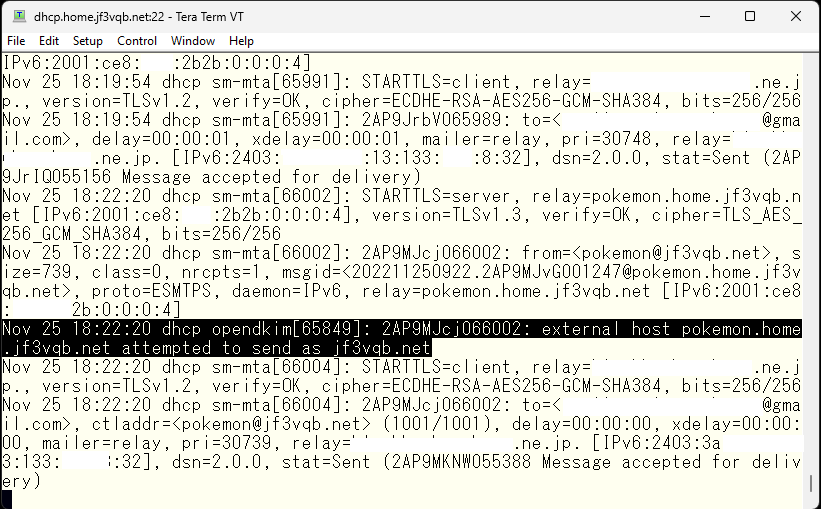
So, I let’s inform that it’s a friend by editing the opendkim configuration file.
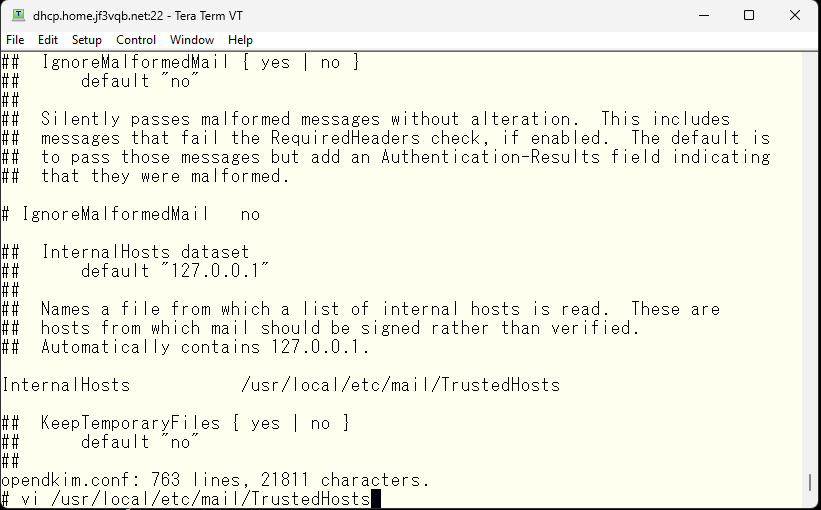
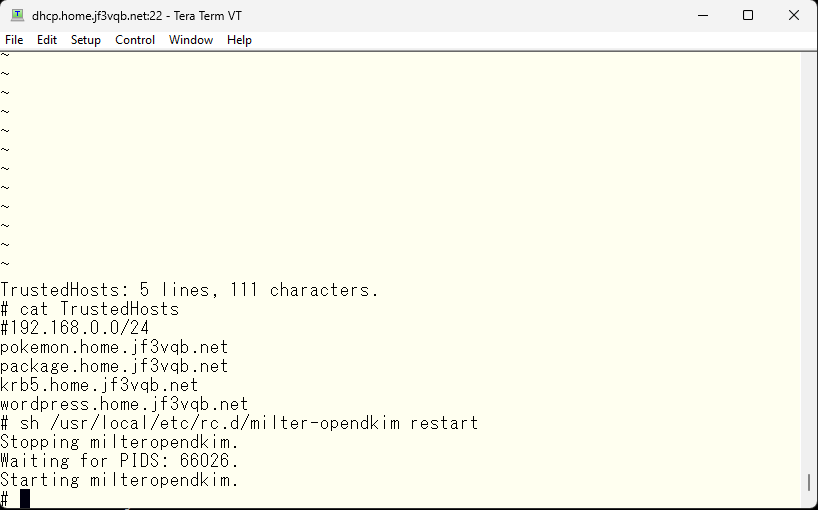
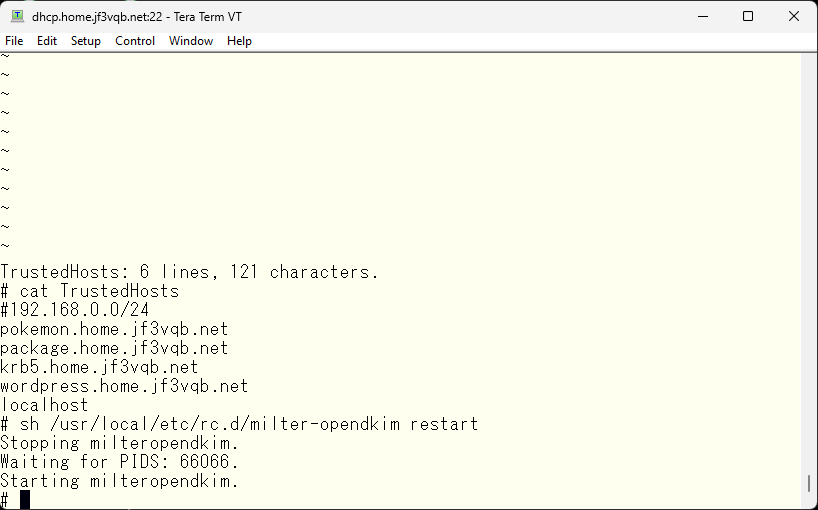
Next, edit the InternalHosts option in the opendkim configuration file by uncommenting it and specifying the file name, and then create the specified file.
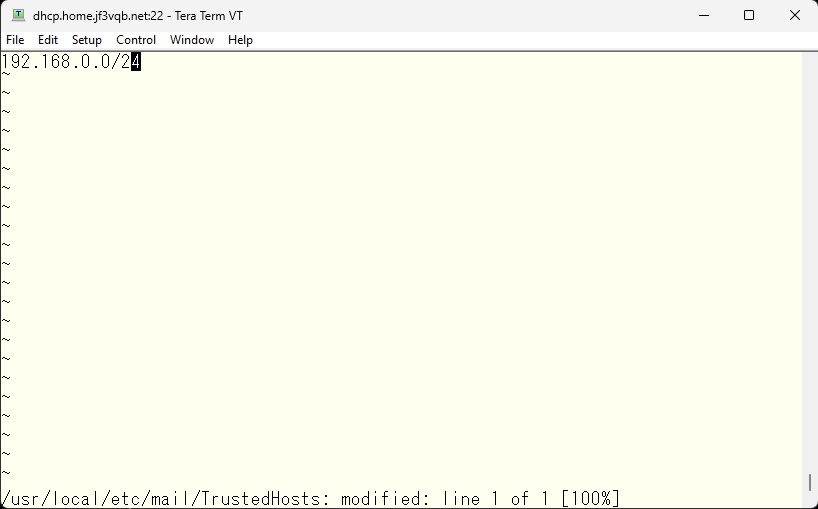
First, specify the subnet of the home network.
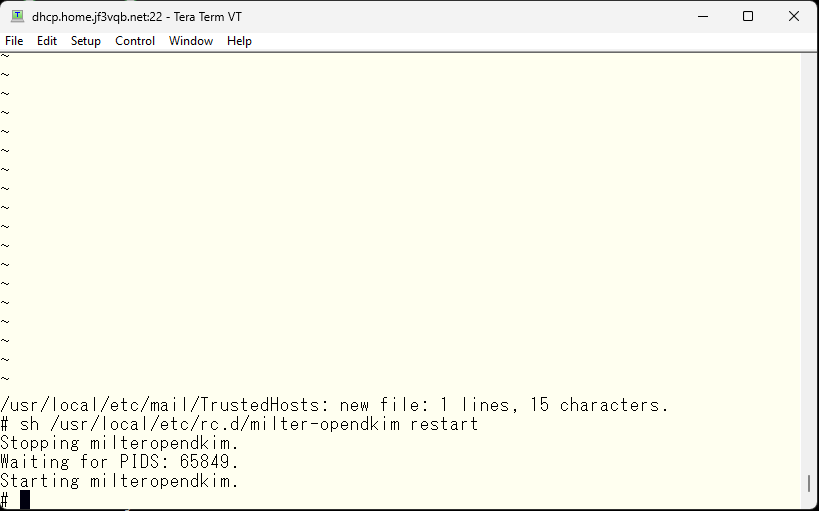
Restart opendkim.
So, I will list all the FreeBSD hosts that could potentially send email, considering IPv6 was not taken into account. These machines should not typically send email to the outside, except maybe from a Windows PC via the server dhcp. However, doing that would prevent us from testing, so for now I will list all the FreeBSD hosts.
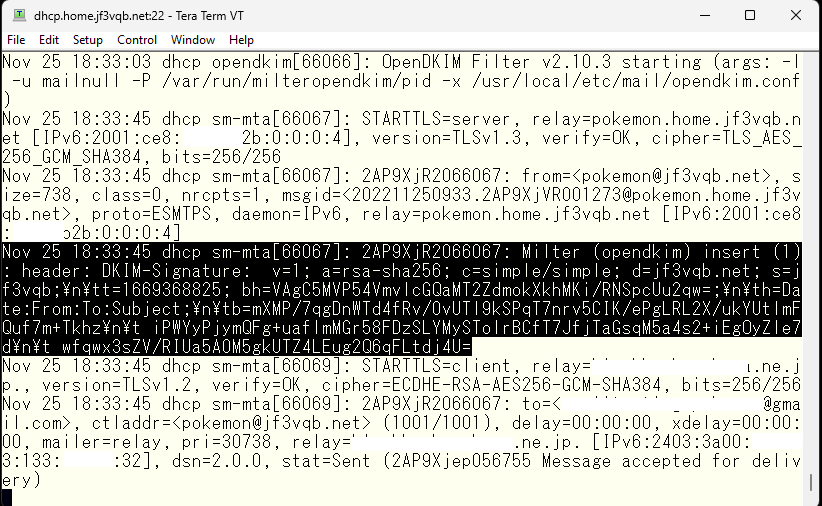
I sent an email to test@gmail.com from the server pokemon. There’s a message in mail logs on the server dhcp that the email was signed. It looks like it worked.
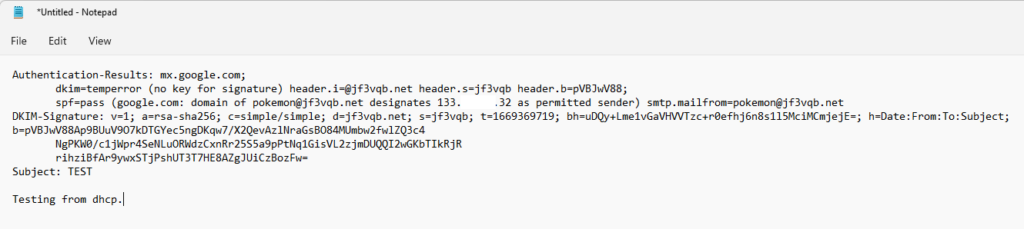
This is a cut-out of the header regarding DKIM from gmail.com. The DKIM check is listed as temperror, indicating that information about the public key could not be obtained from the DNS. However, it seems that the signature itself is okay.

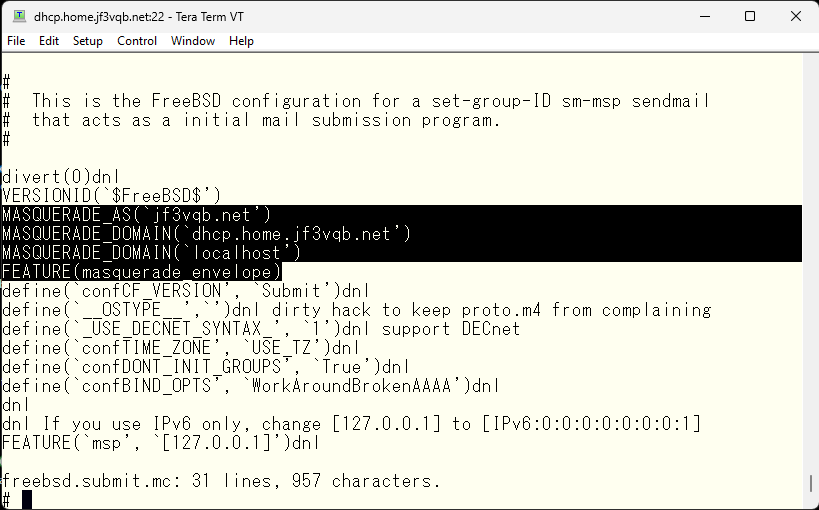
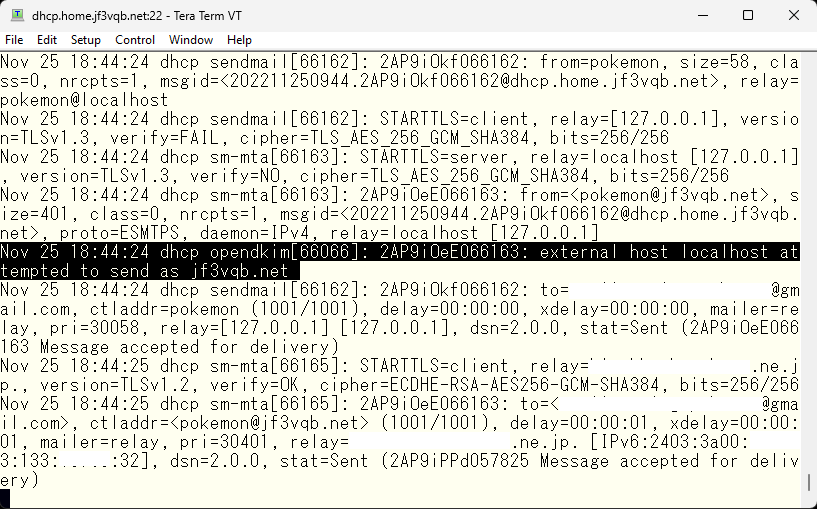
I tried sending an email from dhcp@jf3vqb.net to test@gmail.com, but the DKIM won’t sign on the message. It seems that the trigger for signing is when an email arrives from user@jf3vqb.net, so it won’t sign if the email address is just the local email default of ‘user’. I don’t like changing the submit.cf file, but I will need to add the domain name.
Mmm 🙁 Local host seems not to be a friend either :(“
Make it a colleague.
With this, messages with signatures can now be sent from the server dhcp as well. The status is still temperror. We will provide the materials for validity verification through DNS.
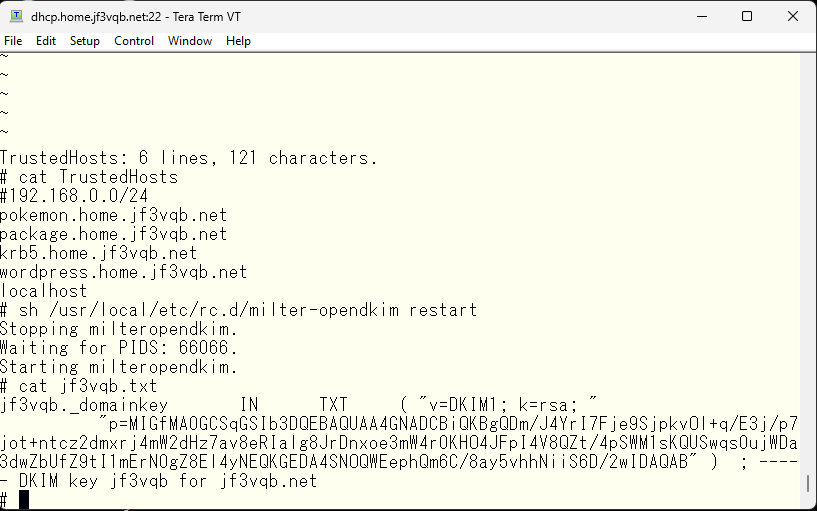
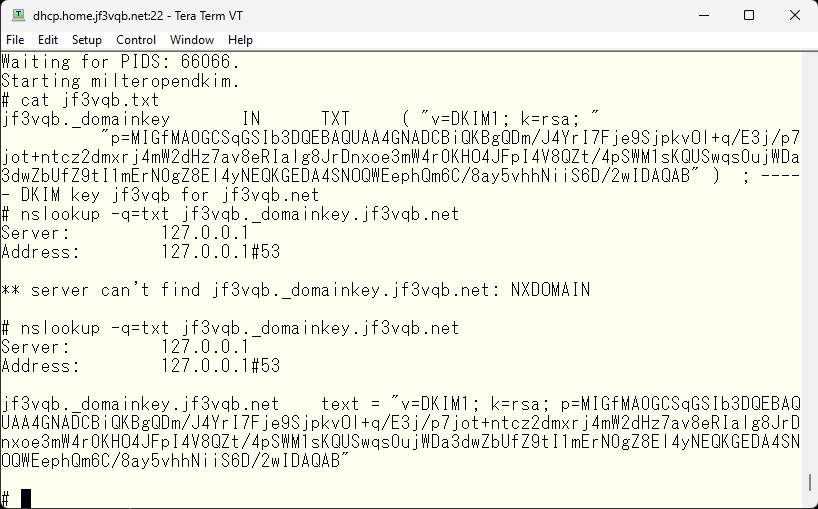
I ran the opendkim-genkey command and two files were created, and I moved one of them to /var/db/dkim. That file contains the private key. The remaining file contains the public key to be registered in the DNS. I added a TXT record to the DNS as directed.
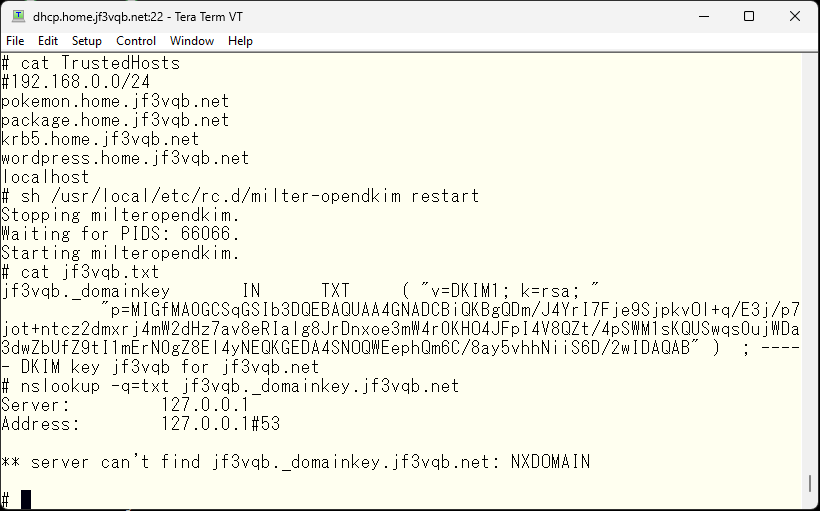
The home DNS does not have the DKIM public key data yet.
Add TXT records to the file created with response-policy.
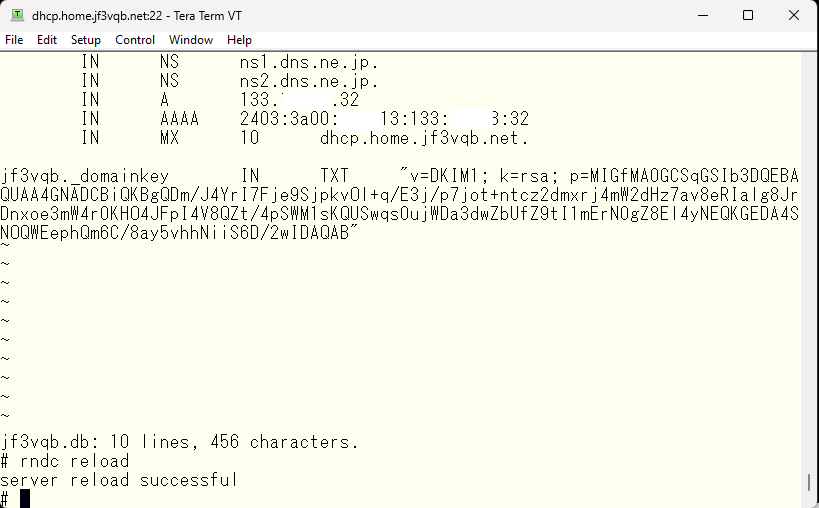
It is now visible on the internal DNS.
The internal DNS now has the records, but it has not been registered in the external official DNS yet. I will register it. I used the vi editor for the internal DNS, but I think there is a dedicated interface for the official DNS, maybe a web interface?
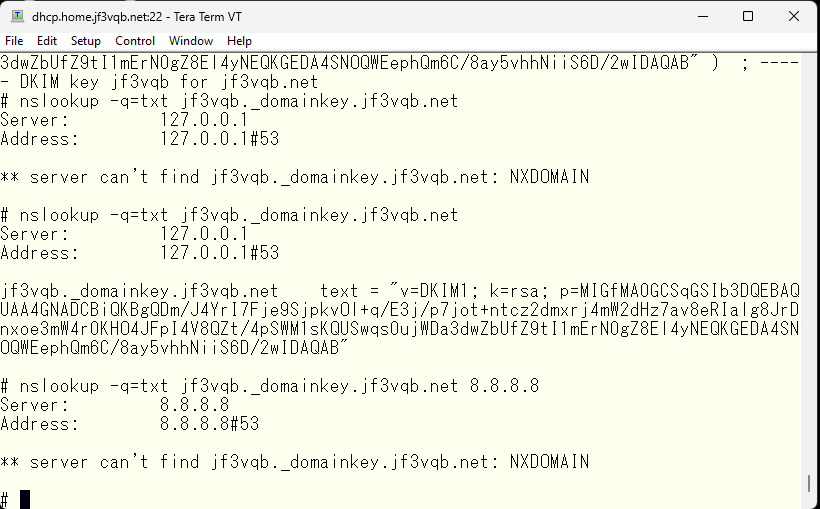
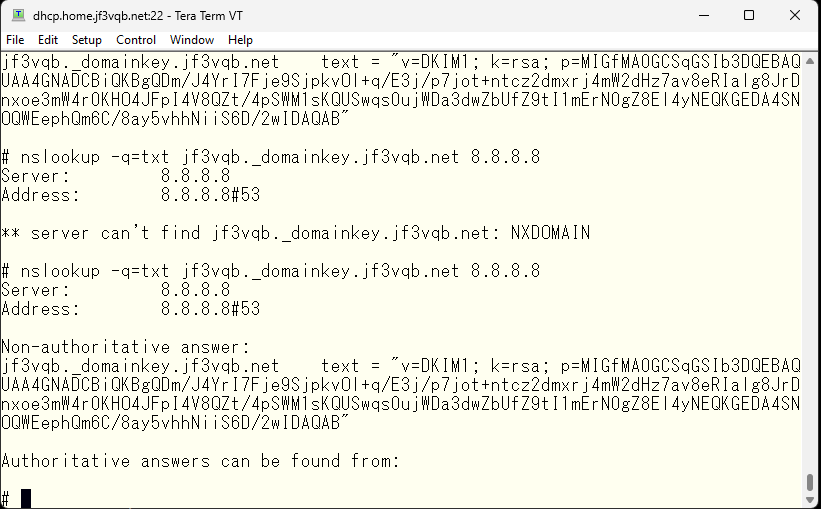
I tried registering it. I can also see the same data in Google DNS.
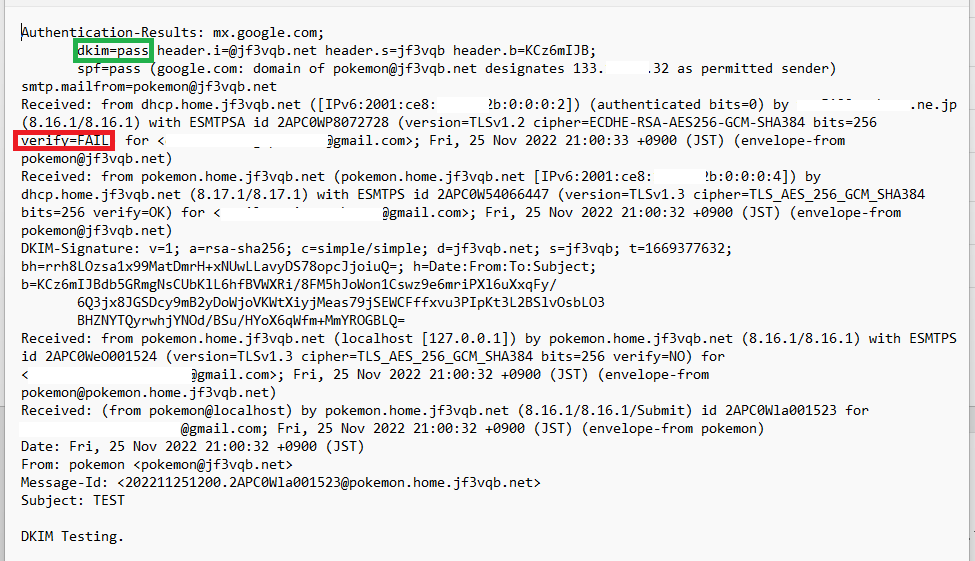
After everything was completed, I sent a final test email. This is the header information that can be seen at gmail.com. The DKIM check has passed. The STARTTLS verify will only fail, but if you want it to be OK, please purchase a legitimate certificate 🙂 Even a non-certified certificate can be used for the purpose of encrypting messages, so I consider the goal to have been achieved.
My company’s division was originally four separate divisions, but several years ago we integrated and became the largest division within our company. Because we had originally four divisions, we have five email domains in total, including the four original domains and the newly integrated domain, that we handle with our DKIM service. Due to the difference in contents of DKIM related files compared to handling a single domain, it took a little effort to re-read the manual and make the minimum changes necessary to get the authentication to pass. I wrote this because I finally made it to the point of getting the authentication to pass. Next time, I hope to write about virus checking.
Advertisement below
コメント