The original Japanese version is available here.
When we didn’t have a dedicated PC for VMware ESXi, we used VMware Player to run other operating systems, such as FreeBSDs. However, we ran into various problems such as being unable to restart the Windows PC without shutting down virtual machines or update Defender definition files without windows update enabled. With the creation of a dedicated ESXi PC, we are now able to use Windows as a standalone system, reducing the risk of these problems. Therefore, I am very happy about this. Here, I will show you how to convert virtual machines created with VMware Player to ESXi
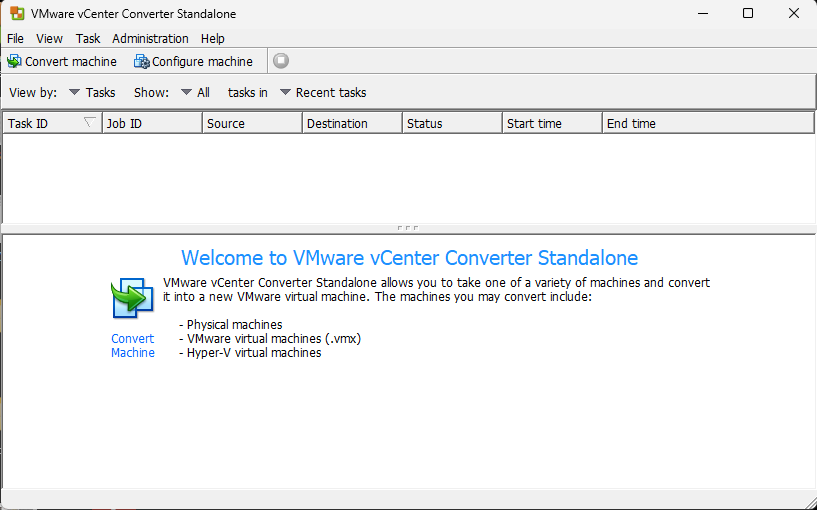
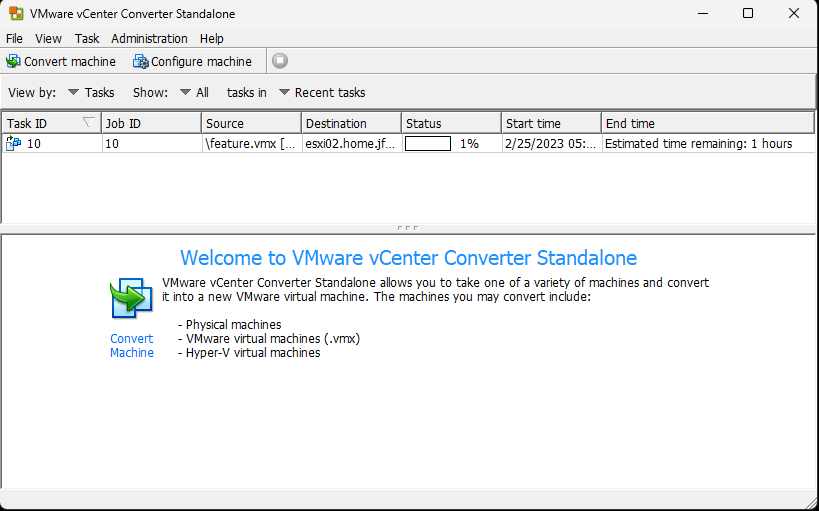
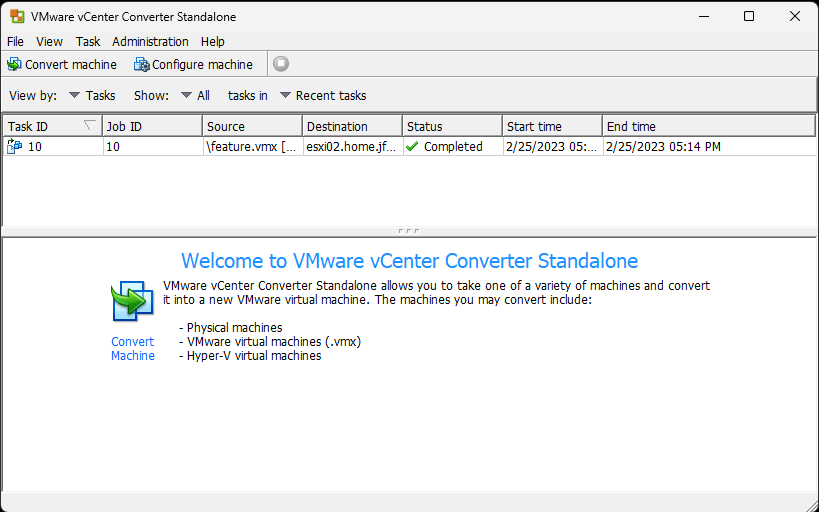
It seems that files cannot be directly moved from VMware Player to ESXi, but you can use a software called VMware vCenter Converter to convert virtual machines between different VMware platforms. So, download and install VMware Converter. After installation, when you launch Converter, it should look something like this. Every time you execute a conversion task, a task line is added, and you can monitor the progress.
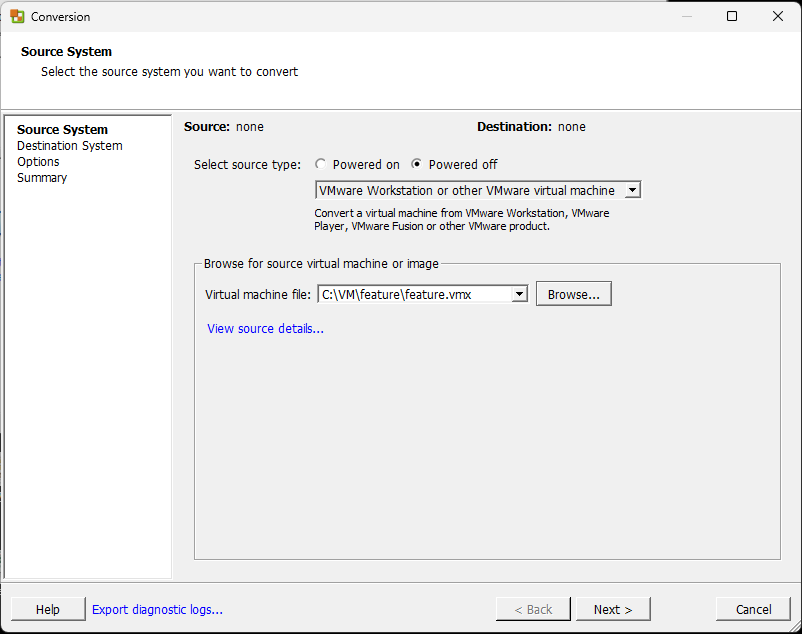
VMware Player has the same basic features as VMware Workstation, so select VMware Workstation as the source. Choose “Powered off” as the source type. Some OSes may be able to use VMware Tools provided by VMware, but it seems that only open-vm-tools can be used in FreeBSD. It is unknown how it is for other OSes, but in FreeBSD, you cannot convert it while Powered on. So, please shut down the OS normally before starting the conversion. Then, specify the vmx file of the virtual machine file as the conversion source.
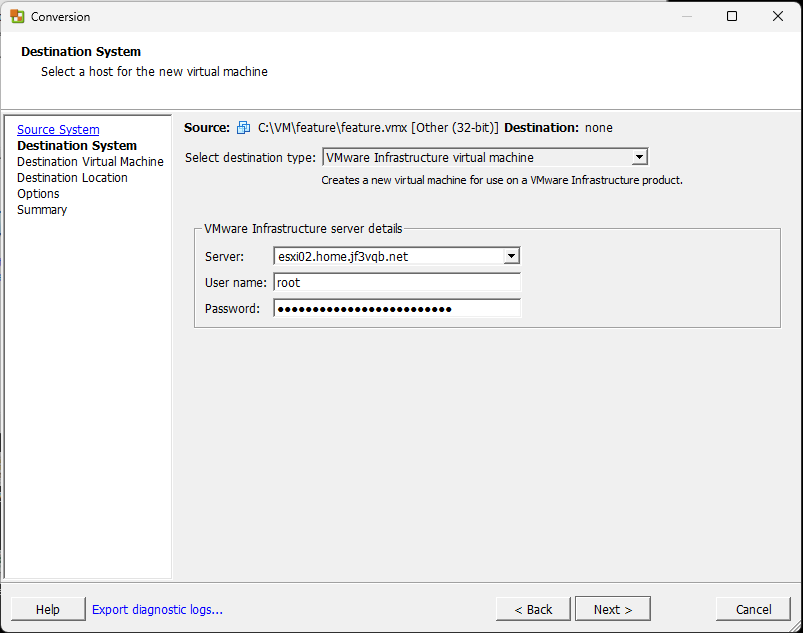
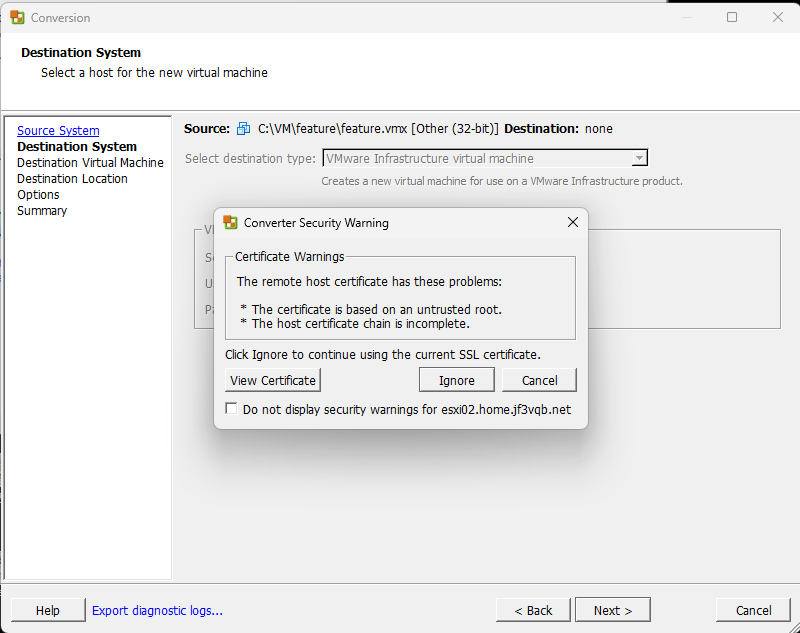
Next, specify the destination for the conversion. As we are converting to ESXi, select VMware Infrastructure as the destination type. Enter the hostname, administrator username, and password for the destination.
The certificate is not purchased from a legitimate certification authority, so a security warning will be displayed, but since it is your own equipment, choose ‘Ignore’.
Make sure to specify a unique name for the virtual machine. The default name will be the one used in VMware Player.

Specify the data store to use and the version of the virtual machine. Select the latest version. There is no reason to specify an older version as long as you continue to use it with this ESXi.

You may see some warnings, but you can’t change them here, so make sure to fix them after the conversion.
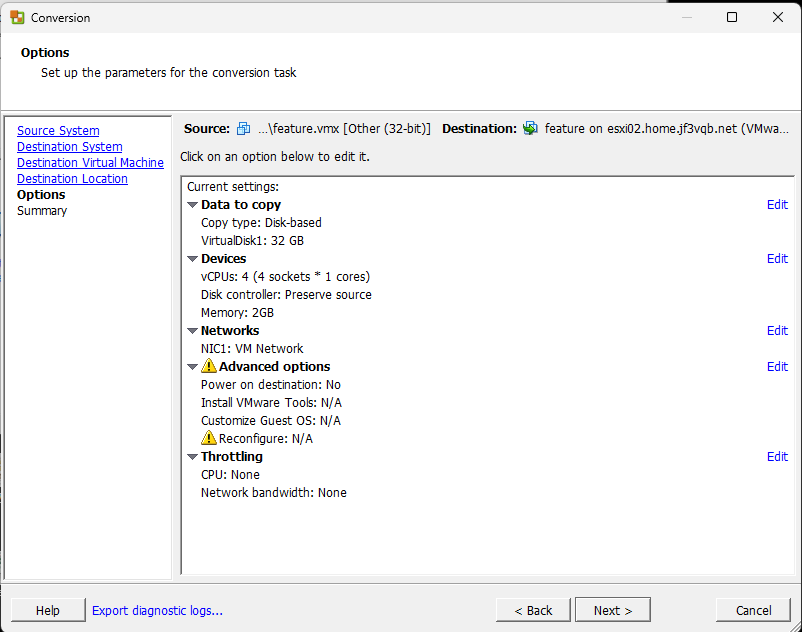
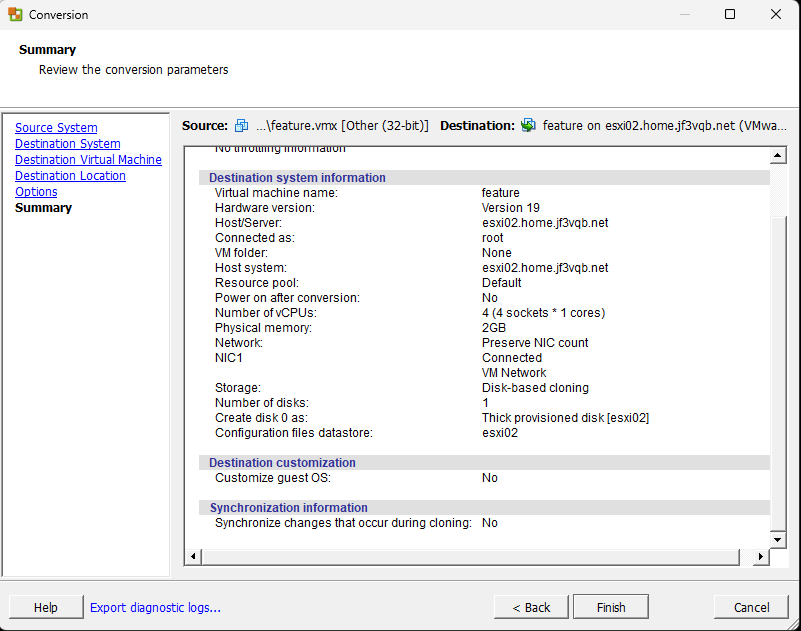
You can see an overview of the conversion, but since you can’t change anything now, proceed with the conversion as is.
The task has been added and you can see its progress, so please wait for it to complete.
Once completed, the status will be changed to “Completed”.
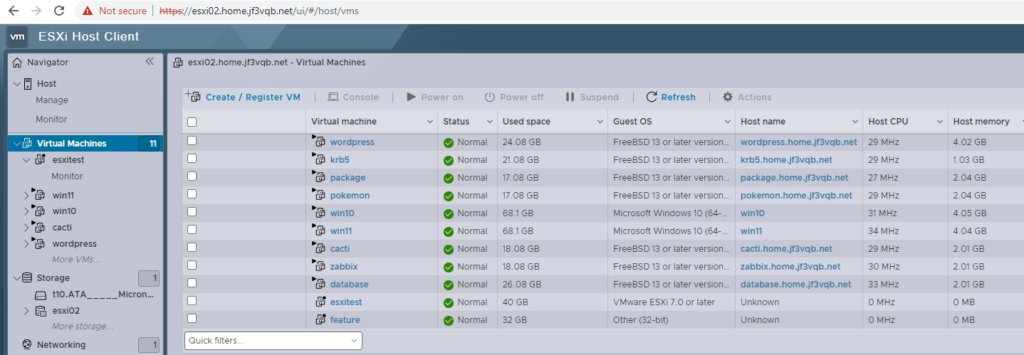
Confirm that the virtual machine exists and begin fixing the issues.
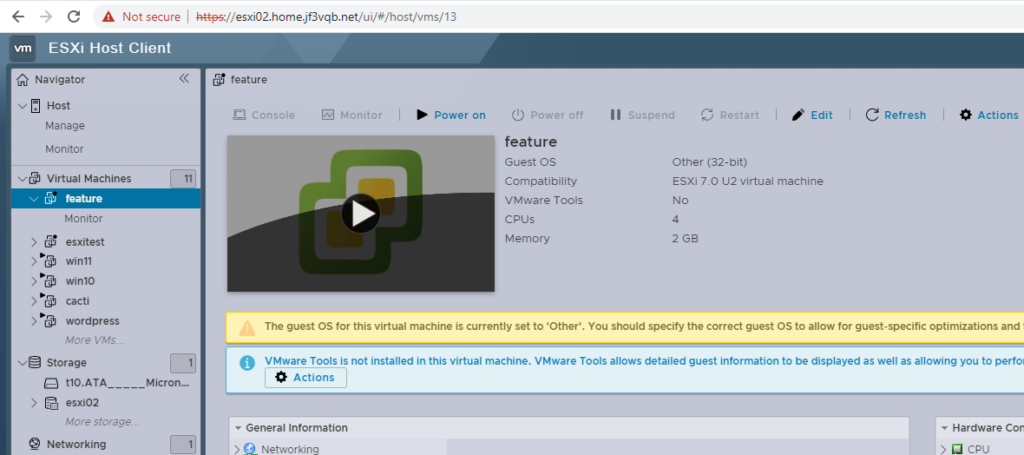
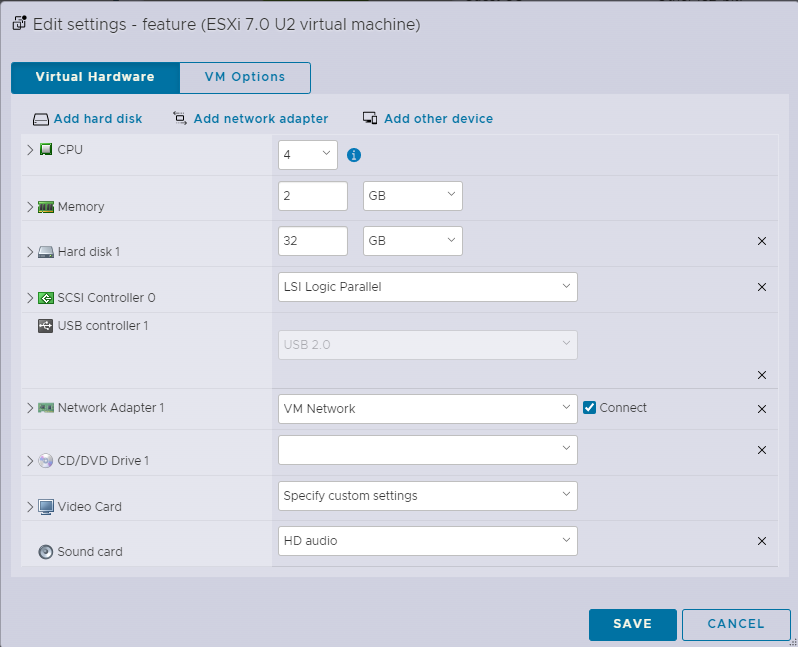
The message says that the virtual machine will not start as is. Click ‘Edit’ to modify the virtual machine.
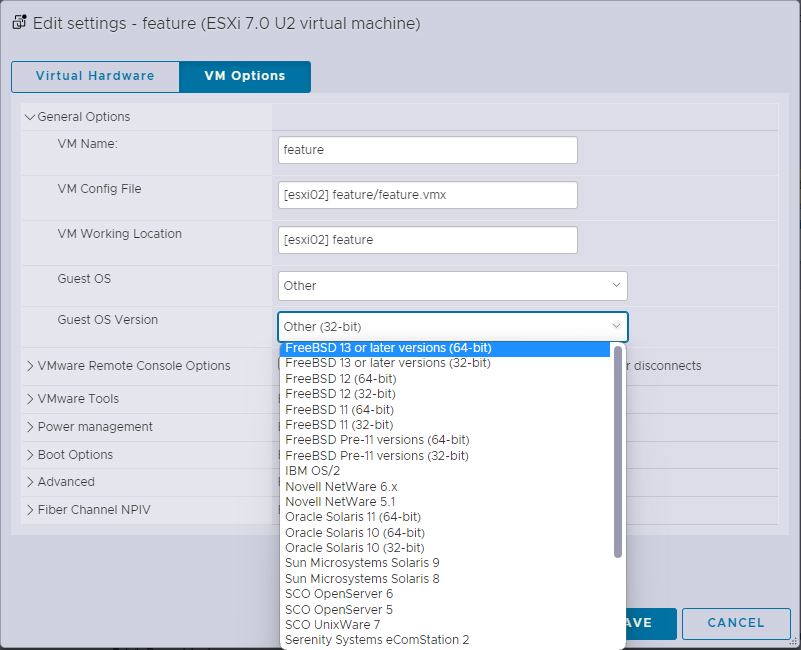
The first thing to do is to modify the VM Options.
Select the correct operating system.
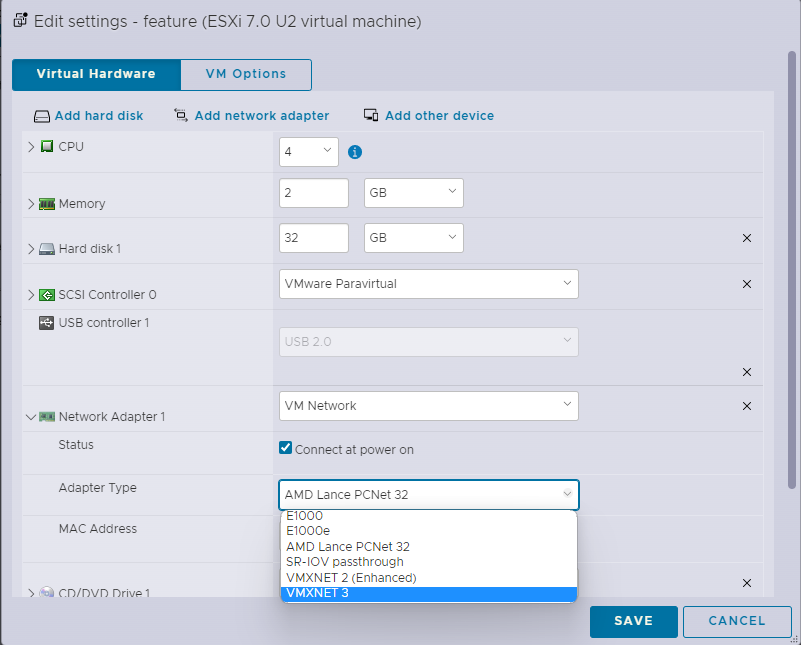
Change the disk controller to “VMware Paravirtual”.

Change the network adapter to “VMXNET3”.
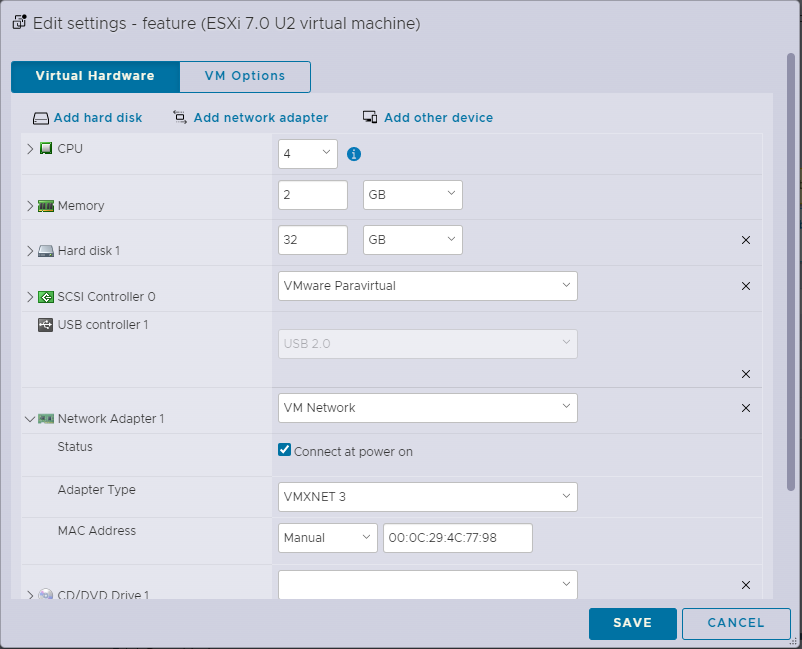
If it is okay for the IP address obtained by DHCP to change, or if you are using a fixed address, then let the MAC address be automatically generated. I use semi-static IP addresses with DHCP for almost all virtual machines, so it would be troublesome if the MAC address changes. Therefore, I manually specify the MAC address. To do this, open the original virtual machine file and check the MAC address.
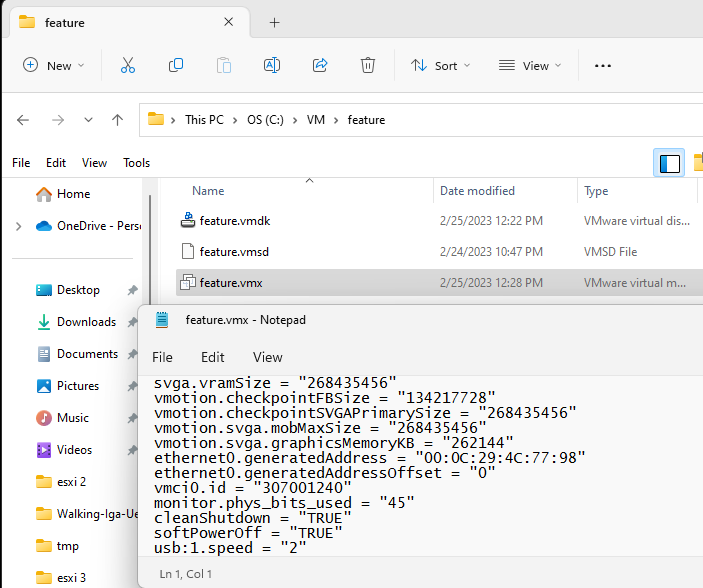
And then copy that MAC address.
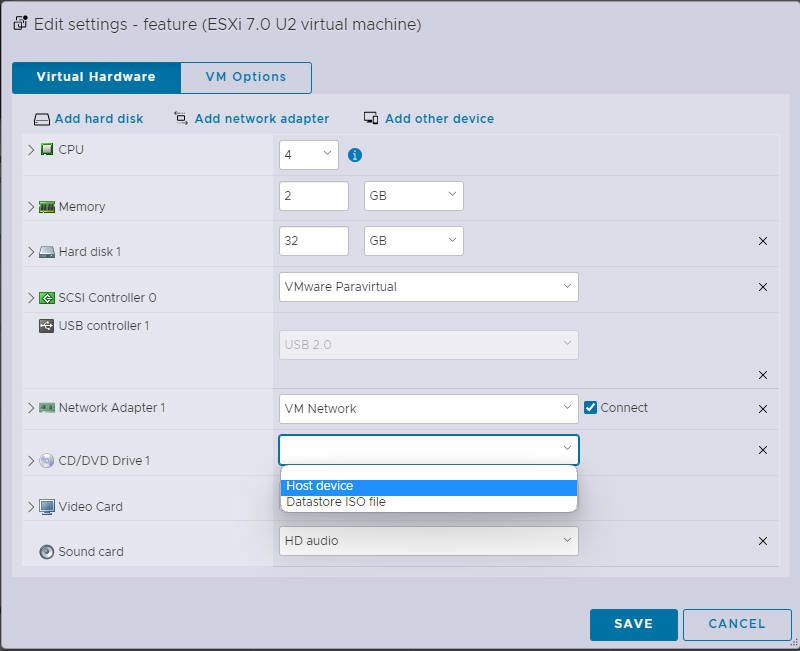
Select “Host Device” for the virtual machine’s CD/DVD drive.
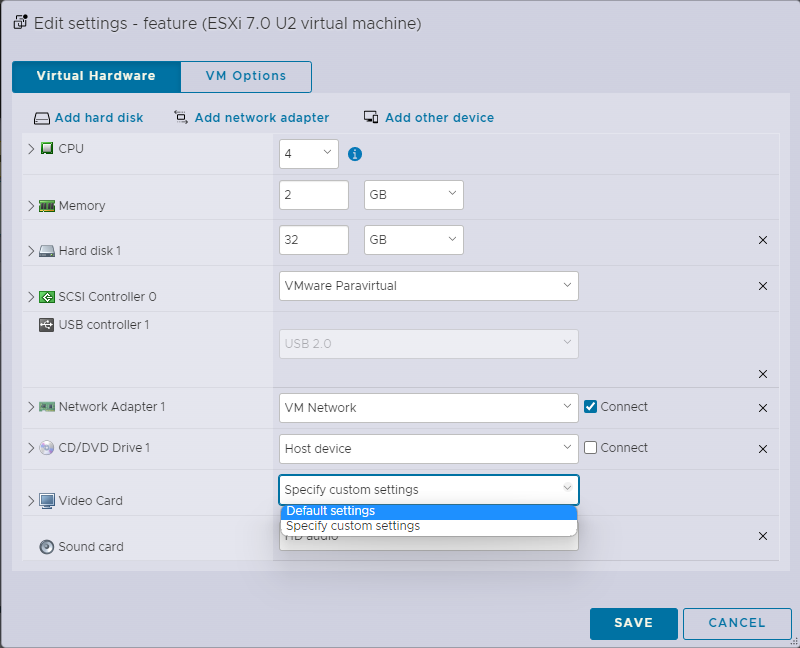
The default settings will be used for the video card configuration as well.
If there are any other changes needed, make them as well.
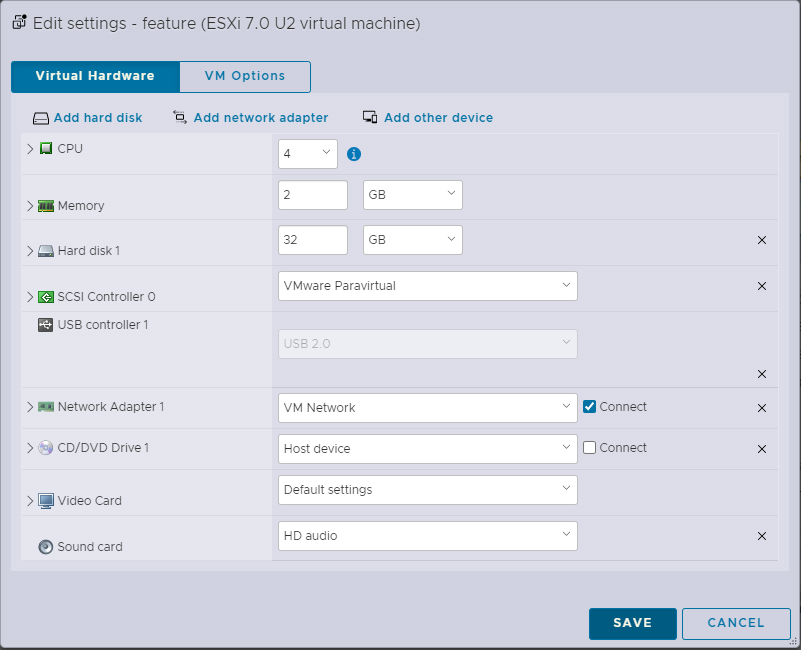
The message ‘Will not boot’ … has disappeared. Let’s try starting it

It seems that the manually specified MAC address is not acceptable, as the machine cannot start.
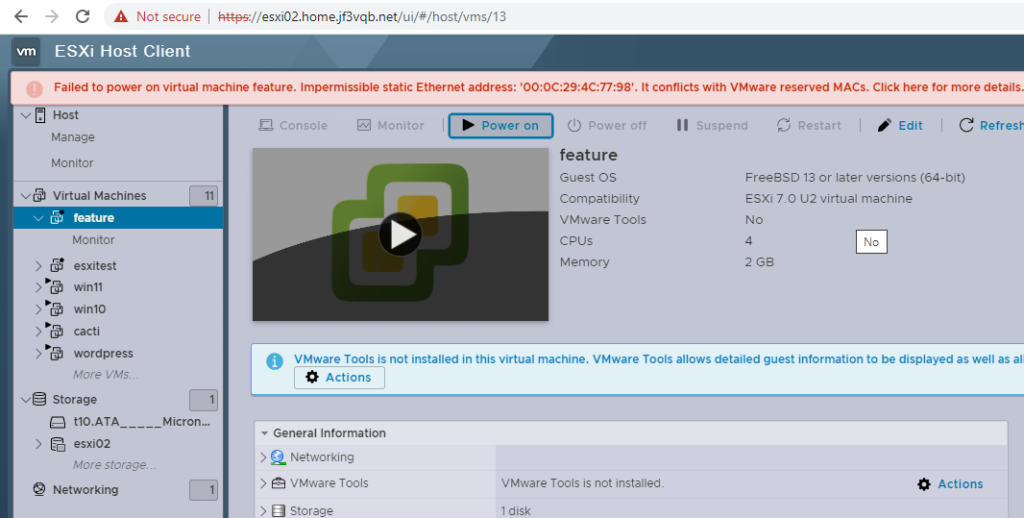
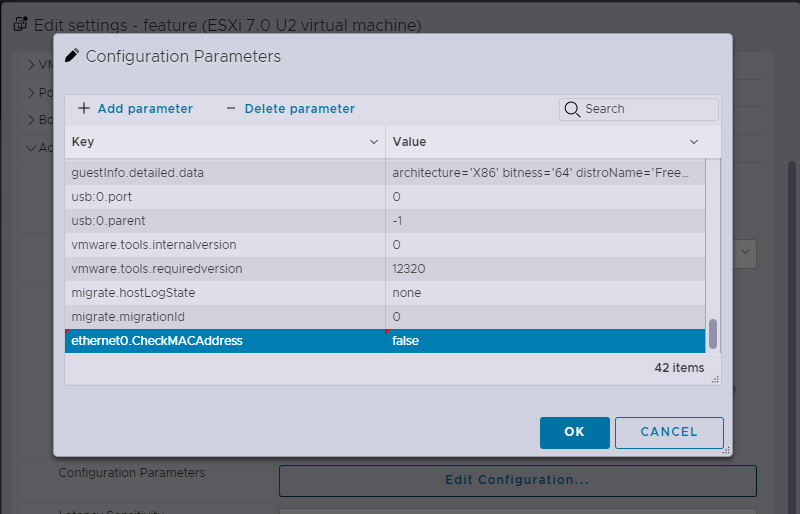
It seems that the manual MAC address specified is causing the startup issue. Disabling MAC address checking allows the virtual machine to start. Let’s add this option to the parameters. If it is not necessary to have the same MAC address, the virtual machine should start without specifying this option. You can also edit the virtual machine file directly using the vi editor by connecting to ESXi via SSH.
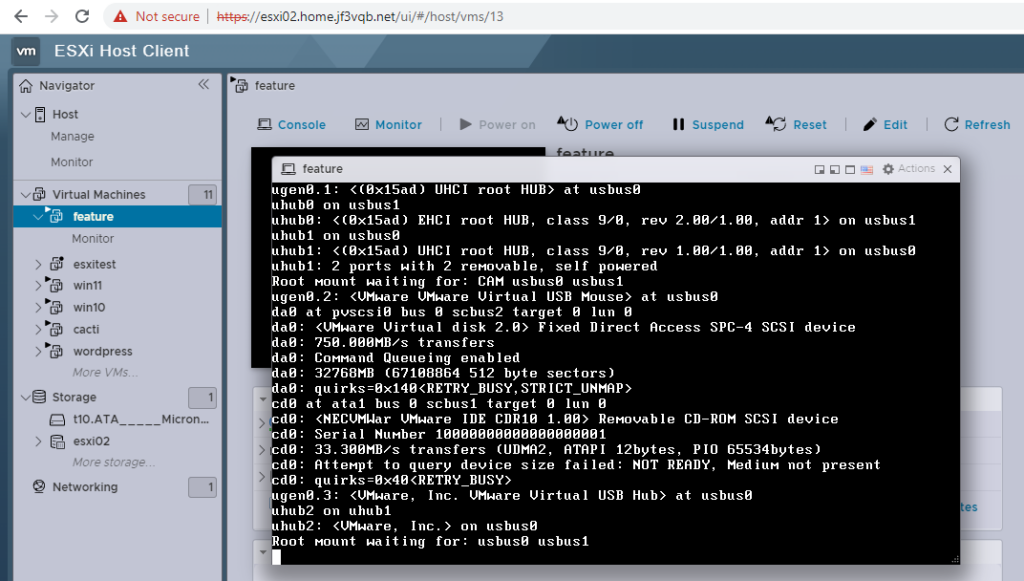
This should resolve all the issues, so let’s power on the virtual machine. You can choose to use the browser or VMware Player as the console. There are several options available under the “Console” section.
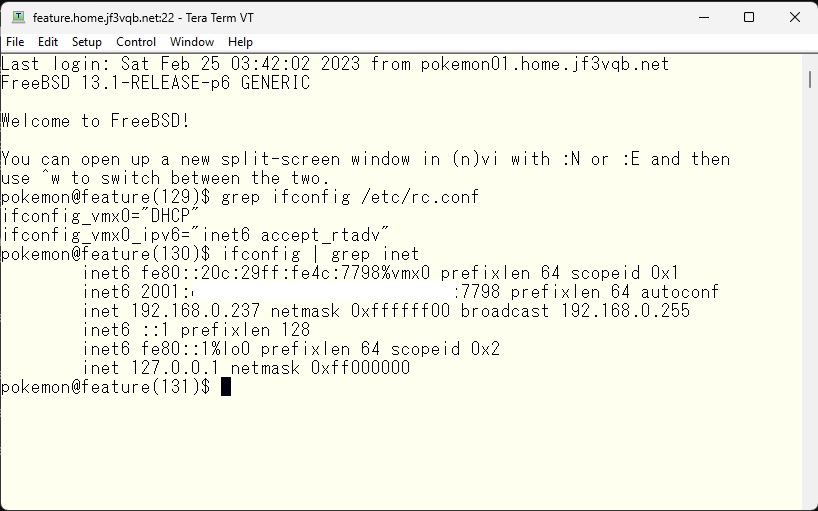
I will now try to connect to the virtual machine via SSH. Since the MAC address is the same, it has the same IPv4 and IPv6 addresses as when I used it on VMware Player.
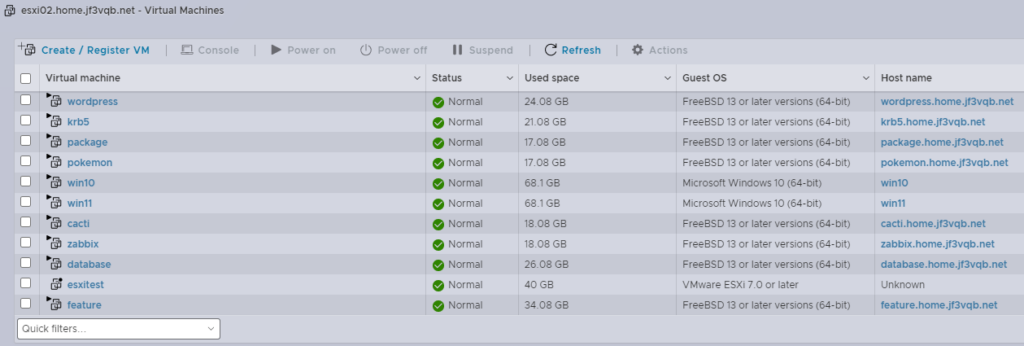
Let’s bring all the virtual machines that were used with VMware Player to ESXi in the same way.
Advertisement below