The original Japanese version is available here.
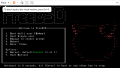
Has everyone seen this message when logging in to FreeBSD?
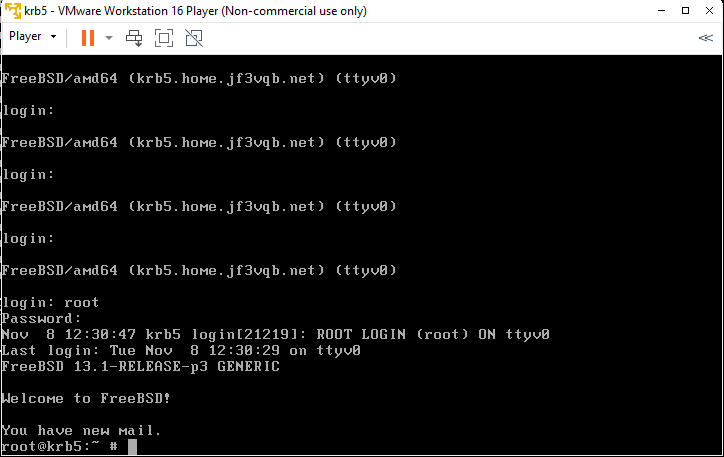
When you log in, you’re told “You have new mail”. Is it a love letter from someone? Like in the movie “You’ve Got Mail” starring Tom Hanks, which was released about 20 years ago. That would be great if it were, but actually it’s just a system status report executed by cron and sent by email. I think the emails must have accumulated in this way.

Oh? Isn’t there just one file? That’s right. Yes, there’s only one file in terms of a file. No matter how many emails accumulate, there is still only one file. So, how do you read the emails? Probably those who use email at work read them with a mail tool like M$ Outlook imposed by IT using a Windows client computer, but there is no configuration regarding email on this FreeBSD. Therefore, to read the emails that are visible here, you read them with the mailx command included with the OS. So, to read these emails that are visible here, we use the mailx command that comes with the OS. The content of the emails cannot be shared, but it can include information about changes in /etc/passwd and /etc/group, network interface status, backup and storage mount status, and available space, system status that administrators need to know, reports of failed logins and users with UID 0, reports of accounts without passwords, and information about packages with discovered security holes, among other emails related to system security. I would assume that we receive two of these system status reports via email every day. Besides that, I believe it also includes Weekly and Monthly reports. Reading these emails requires connecting through ssh or something similar, and using the mailx command, but if there’s only one machine it’s still manageable, but with two or more it becomes unbearable, at least for me 🙂 So, I would like to set up the email related settings in several parts. First, we’ll consolidate traditional SMTP-based mail services to deliver all emails in the household to one FreeBSD machine. Next, SMTP carries out data transmission with basic clear text, but we will make it so that it can be encrypted with SSL. Next, SMTP uses data transmission with basic clear text, but we will make it encrypted with SSL. This can prevent Man in the Middle eavesdropping, but considering the current situation with emails, this is not enough. We will add DKIM signature to the email header to verify the sender of the email, and ensure the validity of the message through combination with DNS. Next, to verify the authenticity of the site, we will set up DMARC and SPF records. Additionally, we will set up SMTP authentication and perform a light virus check to make it possible for potentially dangerous Windows PCs to be clients. Next, I would like to set up the jf3vqb.net domain to receive email and then perform SPAM checks based on the information of DKIM and other received email from outside. Finally, I would like to use IMAP and others to read email on Windows PC. For now, we will focus on designing the email flow and consolidating the home email using SMTP.
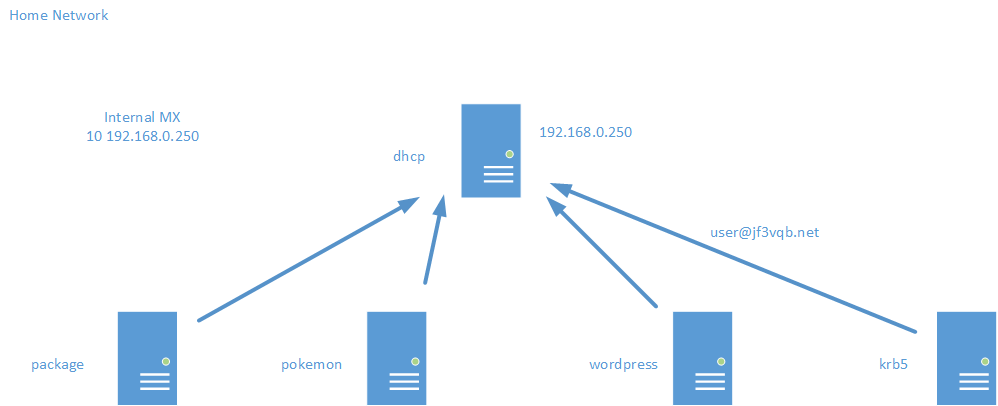
We will set up the email address as pokemon@jf3vqb.net, and configure it so that the email can be consolidated into dhcp’s /var/mail/pokemon file. First, we will edit /etc/rc.conf file on the server dhcp to allow the localhost-only sendmail to also use the IP address assigned to the NIC. So, the /etc/rc.conf file will look like this. This makes sendmail, which was only working on port 25 with 127.0.0.1, now work on port 25 with all addresses (including IPv6).
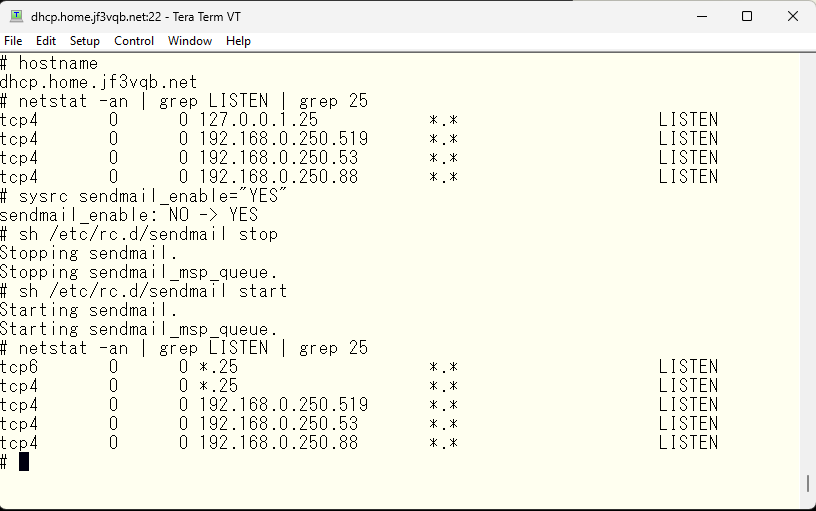
This passage describes the steps to configure a sendmail server for email aggregation for a server “dhcp”. First, the configuration file for sendmail, /etc/rc.conf, is edited to allow it to listen on all IP addresses on port 25, not just localhost. The sendmail server will consider a email address with the domain part jf3vqb.net as one it should receive, and the part before “@” symbol as the local username, with the email being stored in a file under /var/mail directory. If the domain information is not set, the hostname will be used as the domain name. Other sendmail servers outside of dhcp’s will not receive emails and this configuration is not needed for them.
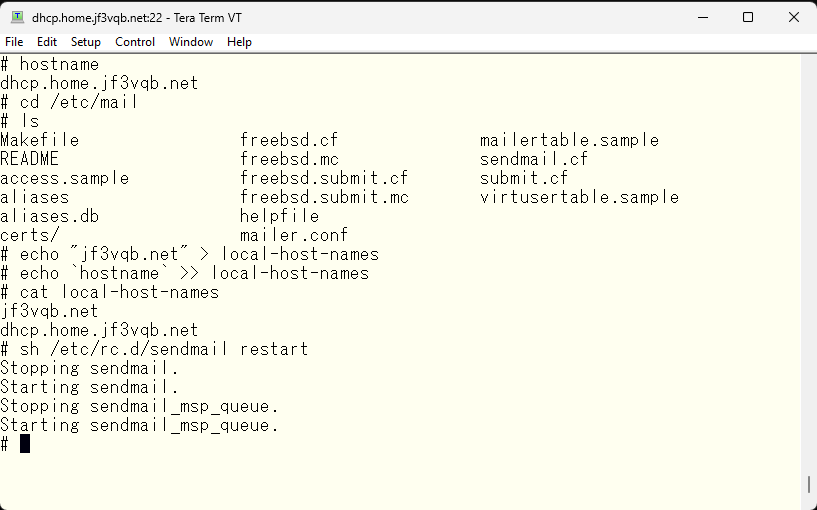
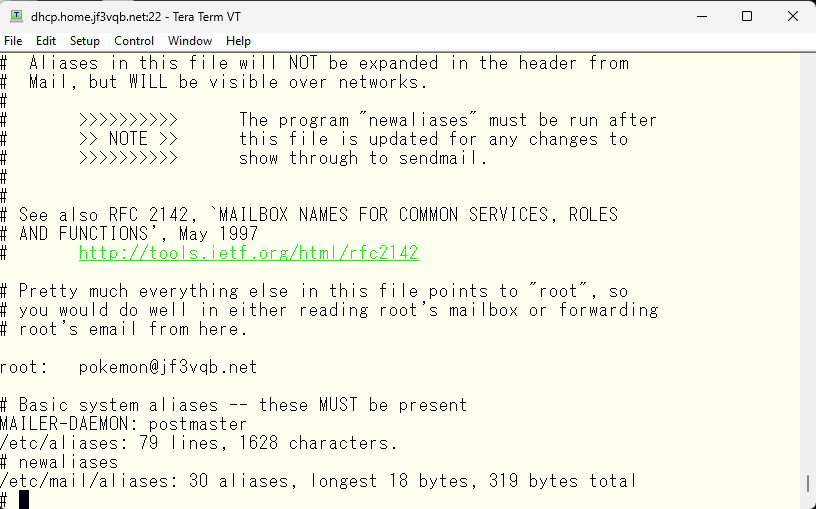
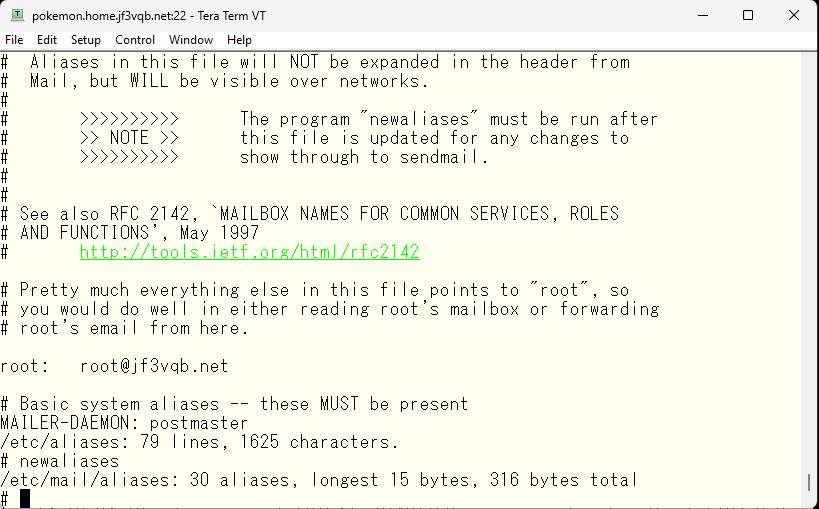
The /etc/aliases file can be edited to redirect system reports to a desired mail file, in this case, the /var/mail/pokemon file, since the author wants to receive such emails in the pokemon account instead of the root account. This allows for better email management and organization.

You are making changes to the /etc/aliases file to redirect system reports from root to your email address. After modifying the file, you need to run the newaliases command to update the /etc/mail/aliases.db file. This is because sendmail uses the /etc/mail/aliases.db file instead of the /etc/aliases file, which is just a symbolic link to /etc/mail/aliases.
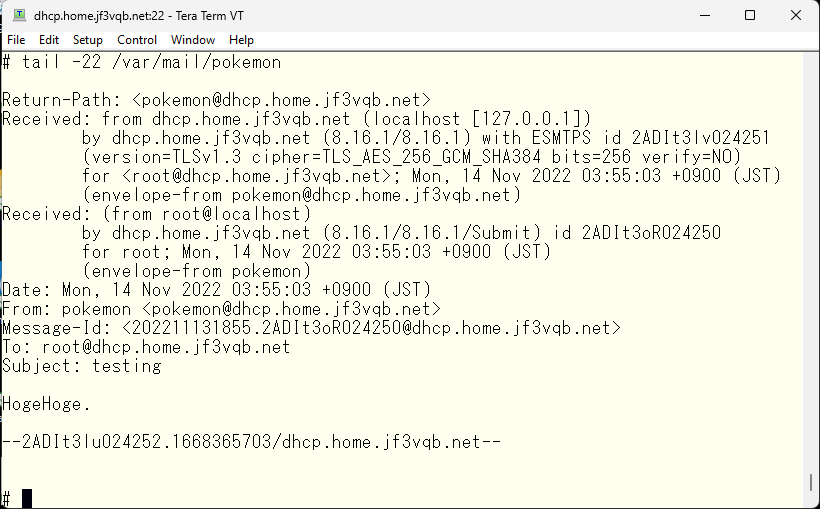
To confirm that the mails sent to root are now redirected to /var/mail/pokemon, you can send a test email to root and check if it is received in the /var/mail/pokemon file.
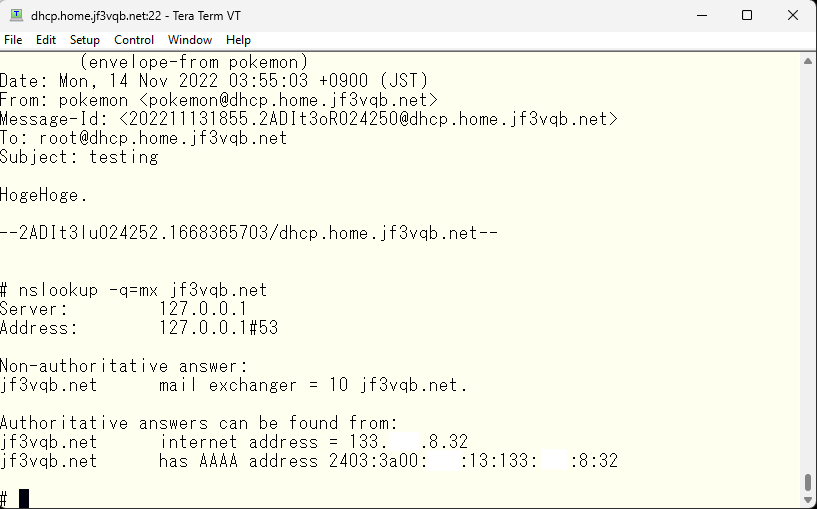
It seems to have arrived. Next, I will make sure that root emails also arrive at the pokemon user of dhcp from other FreeBSDs. There are several ways to do this, but first, I will define the MX record of DNS and make it possible for dhcp to send it easily. Ahh… I can see the information of the external DNS. Since the internal was originally designed as the home.jf3vqb.net domain, there is no choice but to do this.
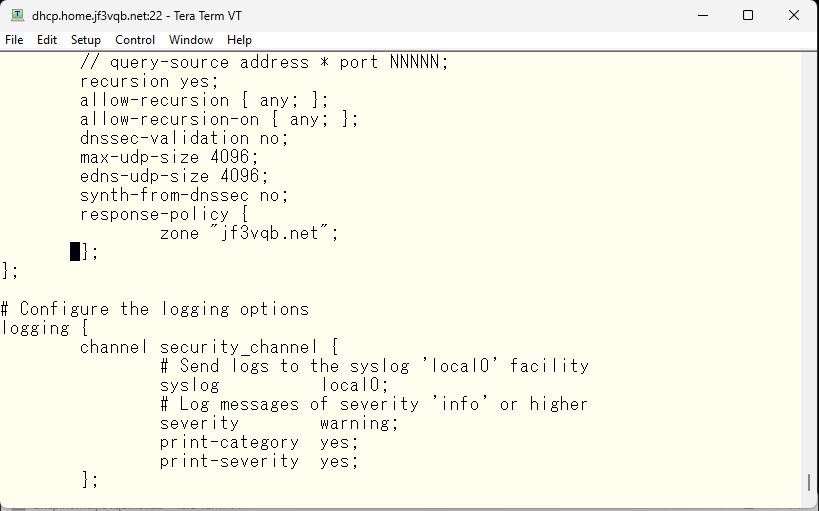
So we will use BIND’s response-policy to rewrite the data with false information, though it will be correct data internally. First, we define response-policy in BIND’s named.conf. Then, we add in the options section that this zone is a response-policy.
Next, the definition of the zone.
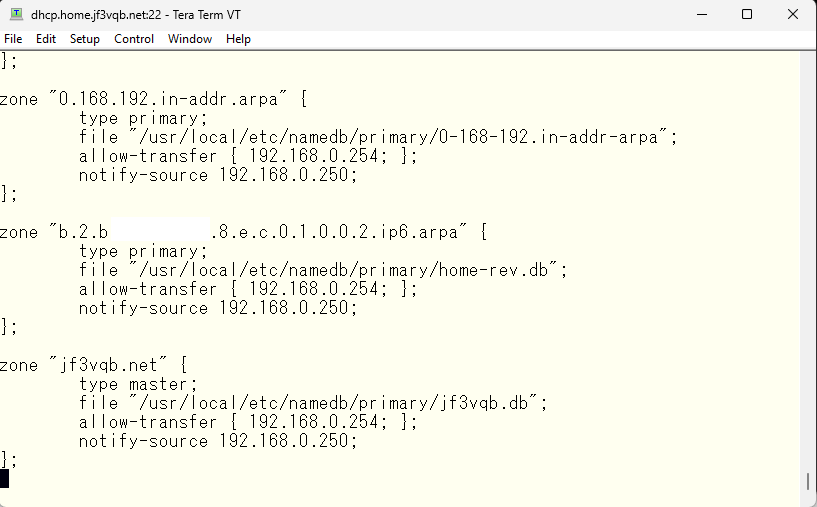
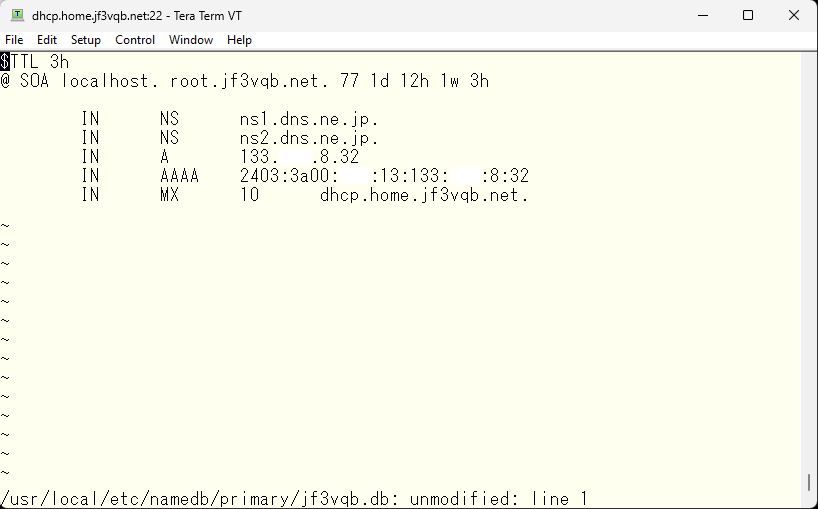
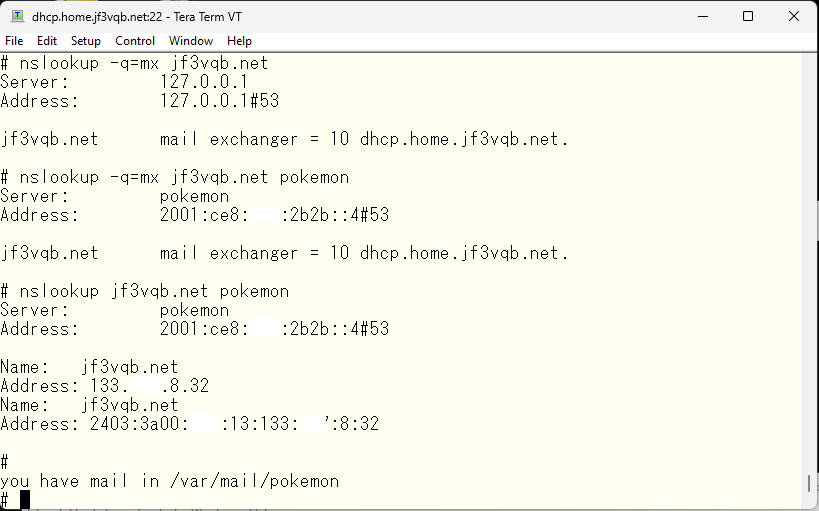
Then, in the definition of the zone, the zone file will look like this. The DNS server and IP address use the actual addresses. And then, change the MX record to a different internal host name which is different from the actual one.
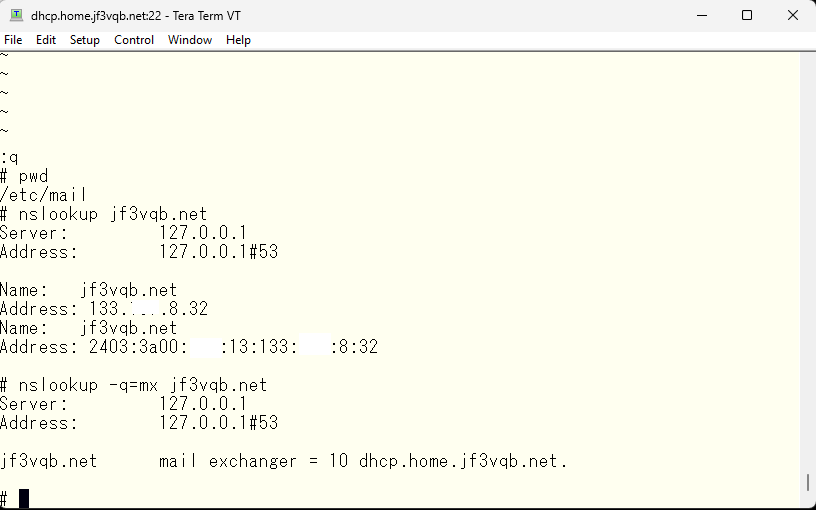
By restarting the DNS, you will now be able to get this response.
期待通りのレスポンスなので、セカンダリ DNS の pokemon でもこのゾーンのセカンダリ設定を書き加えます。named.conf の options への変更は dhcp さんと同じですが、ゾーンの定義はセカンダリとして定義します。問題なさそうであれば DNS を起動しなおします。
With this, if we restart the DNS, we can get the expected response. Now, we add the secondary settings of this zone in the secondary DNS server pokemon’ The change to the options in named.conf is the same as dhcp, but we define the zone as secondary. If there are no problems, we restart the DNS.

In the basic operation of an MTA (not just sendmail), when an email is received, it first checks its own configuration to determine if the email is addressed to itself. If it is, it determines who the email is for and adds it to the appropriate email file. On the other hand, if it determines that the email is not for itself, it searches the DNS MX record to obtain the server information to receive the email and establishes an SMTP session with the server to send the email. Therefore, those who are not dhcp also need to meet these conditions for email delivery, so root email is described as being addressed to root@jf3vqb.net in the /etc/aliases file. By the way, if an email sent from the network is addressed to another server via the network, it is called email relay. This operation is set to be rejected by default. Therefore, if you try to send an email without setting the local-host-names file, you should receive the error message “Relaying denied.” Of course, if you send an email to gmail.com via dhcp, it will also be relayed and rejected in the same way.
Apply the same changes to all FreeBSD except the server dhcp. Try sending an email to root and check if it reaches pokemon user on server dhcp. First, on the sender side. The last line of the email log should show that it was forwarded with “relay=dhcp.home.jf3vqb.net” and the record should remain.

Now let’s look at the receiving side. If you hit the enter key on server dhcp, you will be notified that the email has arrived.
The contents appear to be similar to the email I sent.
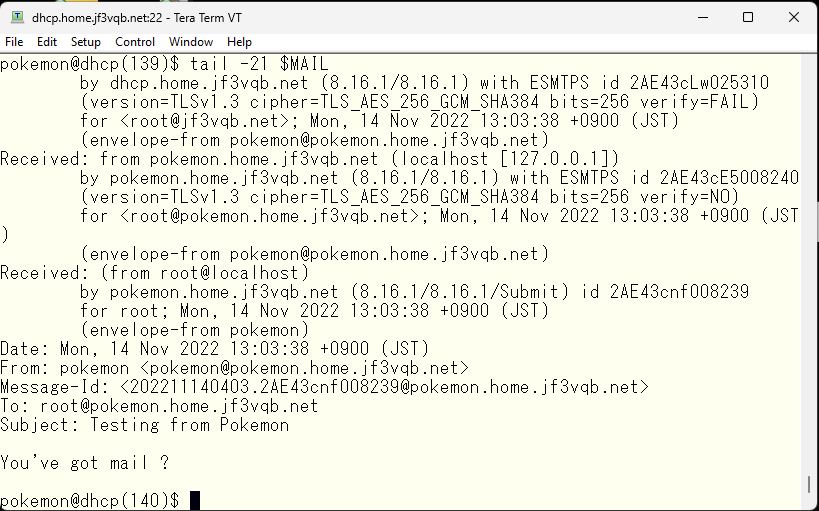
The mail header addresses do not take into account the domain at all, but it still achieved the initial goal. Next time I would like to try encryption using SSL.
Advertisement below